Wednesday, 26 June 2013

Changing the CD Rack

CD Racking DIY

I don't have a picture of the CD rack before I did mine. I will have a look online for one similar to mine. Okay so I can't find one. Well it is a wooden three wide CD rack. 

Step one : Sand the wood back to the wood.

Step two : Choose your paint for wood... I used Cuprinol colours and they are samples. The main purple is Purple Pansy and then I used a blue which is called Beach Blue. 

Step three : to clean up the edges as in the plastic I used white spirt to get the paint off. 

Step four : choose a stencil if you want to add something more personal.

Step Five : add varnish to make it last.


June 2013 - New Things and An Update

Hey everyone - Sorry it's been a while on here

I have been really busy with work. Really not having much time to do much crafting.

Anyway let's get on with this post...

I saw a while back the Sizzix Big Shot Machine on offer for the starter kit as well. But I didn't know how good this offer was until after I brought this machine. I got the Starter Kit £79. When I got it home and took the machine out of the box and had a look at it and put the handle on which was really simple. 

I went onto their website as soon as I got home www.sizzix.co.uk and on there website the starter kit is priced at £109.99 and the Machine itself is priced at £89.99 so I got mine at a really good price. My big shot is the new design.

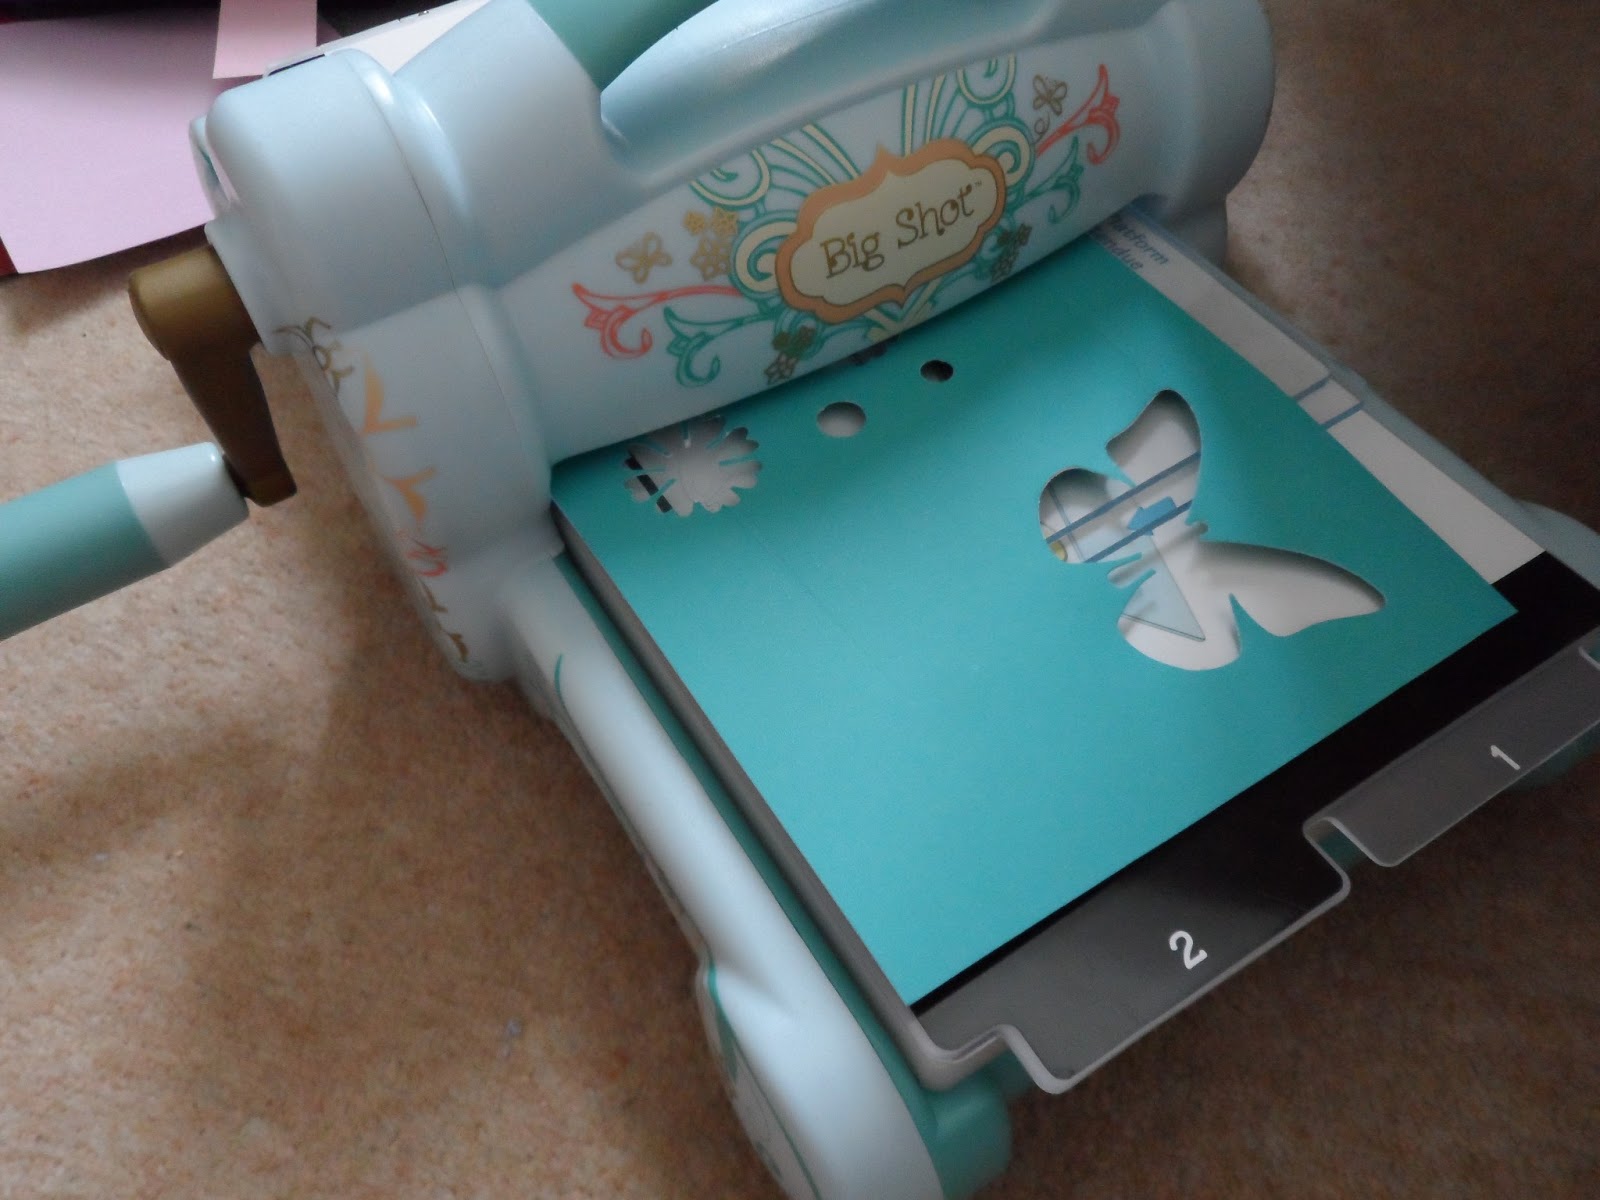
Here is a few pictures:


I brought two storage boxes from Tesco small one was £2 and the big one was £3... I love them they are prefect to put things for crafting in, like my cuts and pockets for dies and embossing. they can hold things for you too.


I used some of the dies for my scrapbook page which has made it look a lot better too. Just have a look.


The butterfly is the die cuts I had with the starter kit which is beautiful.
I have only used this machine today as I had some time to myself and just done a cd rack myself too which I sanded down and then used wood paint to paint. I would love to add a flower stencil to make it more unique and mine. I know it's not done perfectly but it's not finished yet. So here is a photo at the moment.


I love the colours of this cd rack too.

Saturday, 6 April 2013

Scrapbooking

I have just found my scrapbooking books....

so here are the photos of each one

Lilac 8x8

 My first page... 1st time at doing this, just need to add a picture :)

These are two of my scrapbooks

My Walt Disney World Scrapbook 12x12
Still need to sort this out and find some pictures as mine have disappeared :(

Thursday, 4 April 2013

Time for some new stuff

Time to buy new Stuff.....

This is from the Gorjuss Range :-) which is the best for me really... I love the Gorjuss stuff like the purses and that I have a few things of there in gifts. From a dairy to coin purse. 

I went with my boyfriend on Wednesday 3rd April after his birthday as we were off of work. 

So I will show you them in Photos....


These are more for scrapbooking which I can't wait to use.

Another Birthday Card

Sorry this is another birthday card.. but more of a step by step one too. 
Only thing is the photo's are not the best so I am sorry.
 Step One: Select the program which you use, I am using the Do Crafts Me To You CD-Rom which I did get for Xmas 2012. 
Select the images and place onto the pages.
 Step Two: Print out the pages with your designs on.
 Step Three: Cut out the Images/pages to the sizes which is needed.
 Step Four: Always place the images onto the card before sticking them in place with either glue or double sided tape as you will not be able to move them after. 

Step Five: Do the back ground first and then place the first of the decoupage and place then take a photo and see if it looks right before placing it down. I have used double sided tape to place all my things down apart from the decoupage parts and I wanted them 3D so I used foam tape.
 Here are a few of the step five


 The I placed the Happy Birthday tag on to finish this card off.


Thursday, 28 March 2013

It's A Boy or It's A Girl - New Baby

I done these a while ago but thought I would share these on here:

They are very simple and they were in a paper pack and just made them for that person in mind

One for a family member and one for Boyfriend's best mate's wife...


On this one I wrote It's A Girl! myself which I was happy with.

Birthday Card

This is for my Boyfriend... 
His Birthday is on Tuesday so I thought I would get this done before its busy this weekend.


Pick and select the design you want for the Card.
Print it out. The cut the sections out and place onto the card for the right placement before gluing it all into place.


The finished one showing the layers and what it looks like from the front.

New Blog Page....

Sorry to re-do this blog page but I couldn't fig out why I couldn't do much on my other page....

So came up with a new page Idea using my username from DoCraft's forum and Trimcraft too.


So welcome to LilacBleeds's Crafting Section..